
.png)
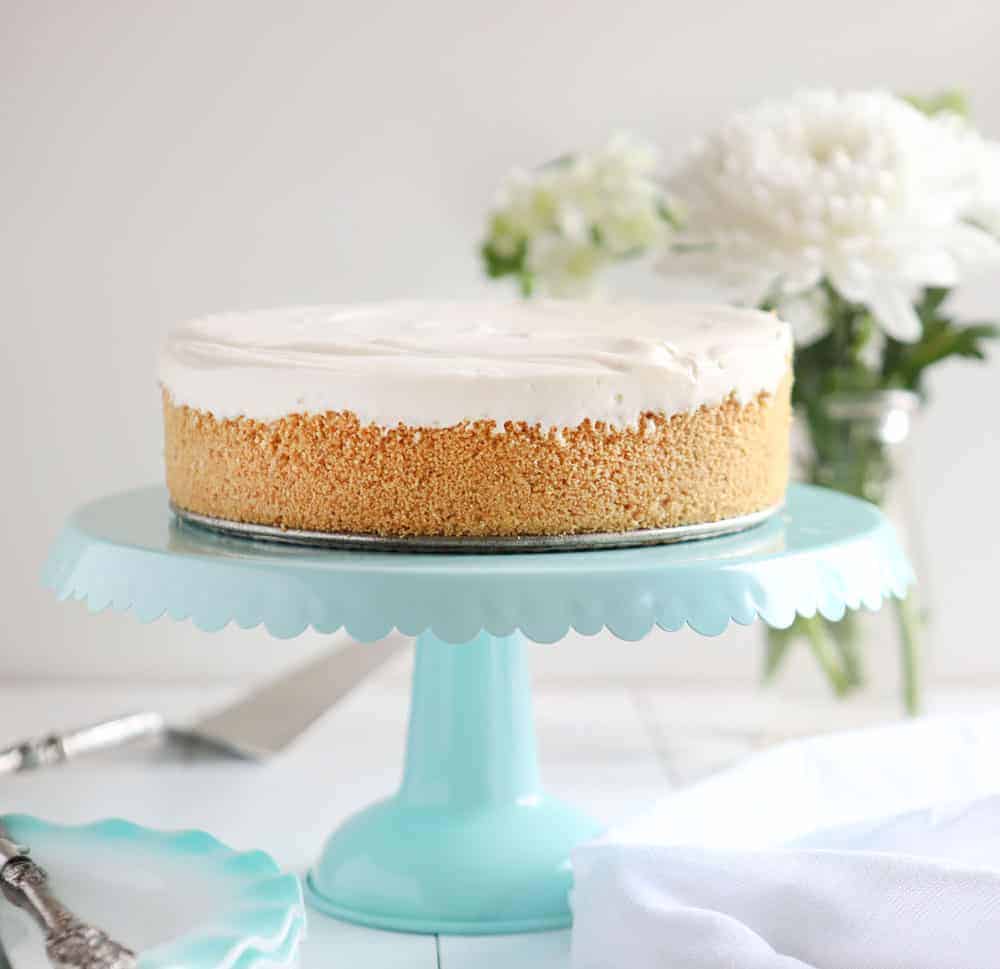
No Bake Cheesecake
via i am baker https://iambaker.net
April 30, 2018 at 11:44PM
Are you are craving the silky smooth delightfulness that is Cheesecake but don’t want to turn on your oven? I have found the perfect No-Bake Cheesecake recipe for you!
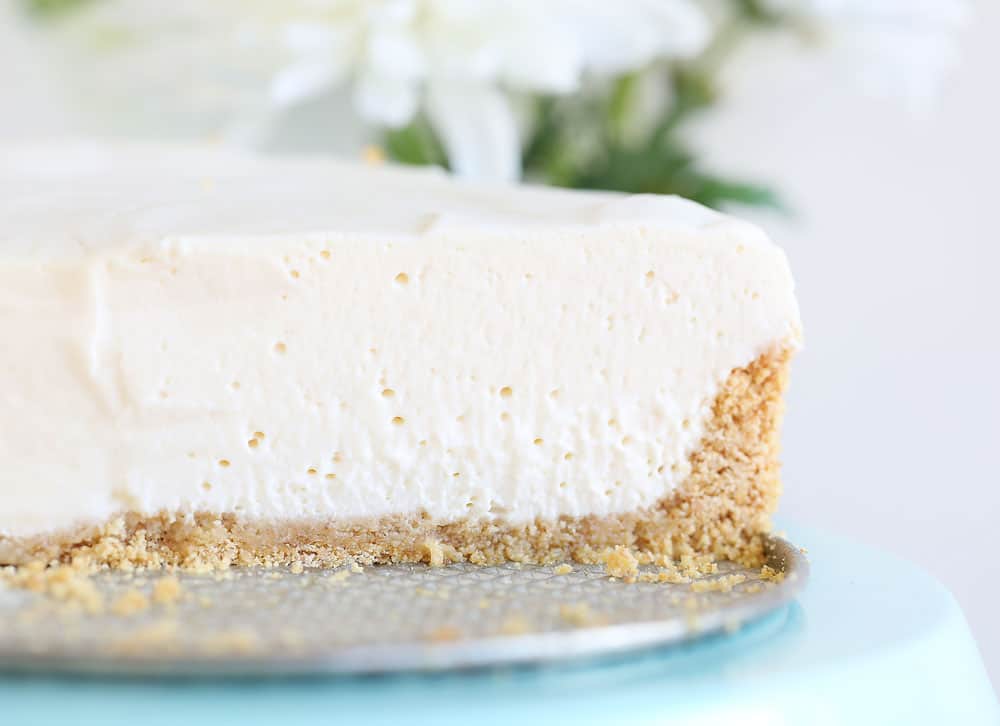
So how do you make a crust that is no bake? It’s simple! I use the standard ingredients of graham cracker crumbs, sugar, and butter, but I make extra sure that every single crumb is covered with butter. The butter will act as a binding agent when it cools ensuring a beautifully firm and delicious crust.

Because we are using heavy whipping cream in this recipe it is essential that it chills in your fridge for at least 6 hours before serving. Overnight works best! Also be sure to note that I used 2 different attachments with this recipe, the paddle and the whisk. Using these attachments at the specified times is important and ensures you will have the best no bake cheesecake!
I also used fresh lemon juice. I don’t recommend using a store-bought lemon juice as it doesn’t work as well and you can almost taste the difference.
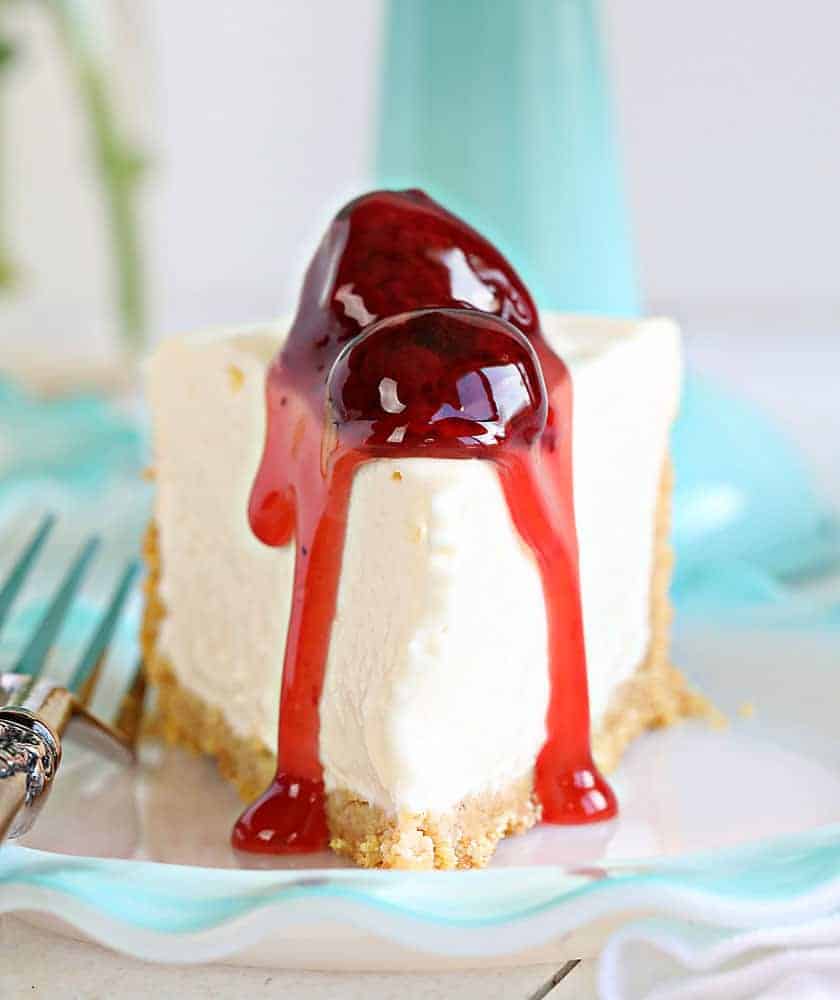
When it comes to how you serve this cheesecake, the sky is the limit! You can add pie fillings (I added strawberry pie filling in the video and in a picture below) but blueberry, cherry, lemon, and raspberry also taste amazing! You could also drizzle chocolate on top and a healthy dollop of whipped cream for some extra richness.
By far my favorite way to eat this no-bake cheesecake is with fresh fruit. I love it with blueberries and kiwi and my kids grab fresh strawberries.
To make this a chocolate no-bake cheesecake, simply add 8 ounces of your favorite chocolate. Start by melting the chocolate in a microwave-safe bowl then set aside to cool a bit. Add the cooled melted chocolate to the cream cheese mixture and continue making the cheesecake as directed below. (Don’t forget to make an Oreo crust for a chocolate lovers dream come true!)
This no-bake cheesecake is the perfect dessert for summer! It comes together quickly, uses only a few simple ingredients, and tastes AHmazing!
Here is a full video tutorial on how I make this amazing No-Bake Cheesecake!
No Bake Cheesecake
So what exactly is a no-bake cheesecake? Simply put it’s a cheesecake that’s never seen the inside of an oven. Neither the crust nor the filling is baked, making it truly a no-bake dessert.So how do you make a crust that is no bake? It’s simple! I use the standard ingredients of graham cracker crumbs, sugar, and butter, but I make extra sure that every single crumb is covered with butter. The butter will act as a binding agent when it cools ensuring a beautifully firm and delicious crust.
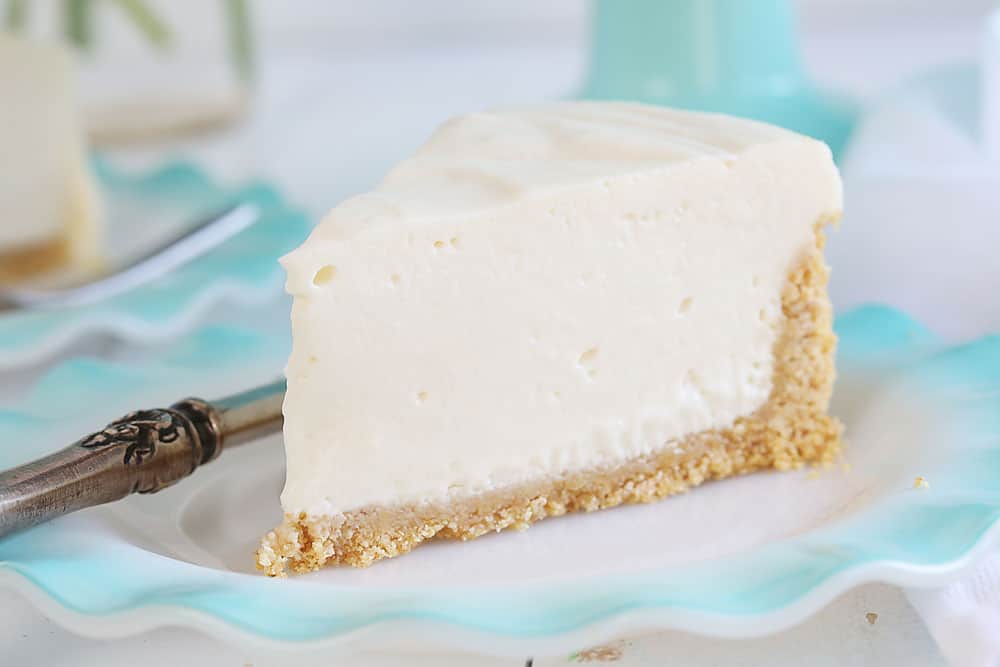
No Bake Cheesecake Recipe
The filling for this no-bake cheesecake recipe is made with a special ingredient, heavy whipping cream. I have made several no-bake cheesecakes with the traditional sweetened condensed milk and always find that it tastes a bit different, or noticeable. So I went on the search for a recipe that would not use sweetened condensed milk and that would stand up to a classic baked cheesecake. The original recipe I found was on Serious Eats and after making it several times and making slight adaptations, I know that I have finally found the PERFECT No-Bake Cheesecake!Because we are using heavy whipping cream in this recipe it is essential that it chills in your fridge for at least 6 hours before serving. Overnight works best! Also be sure to note that I used 2 different attachments with this recipe, the paddle and the whisk. Using these attachments at the specified times is important and ensures you will have the best no bake cheesecake!
I also used fresh lemon juice. I don’t recommend using a store-bought lemon juice as it doesn’t work as well and you can almost taste the difference.
When it comes to how you serve this cheesecake, the sky is the limit! You can add pie fillings (I added strawberry pie filling in the video and in a picture below) but blueberry, cherry, lemon, and raspberry also taste amazing! You could also drizzle chocolate on top and a healthy dollop of whipped cream for some extra richness.
By far my favorite way to eat this no-bake cheesecake is with fresh fruit. I love it with blueberries and kiwi and my kids grab fresh strawberries.
To make this a chocolate no-bake cheesecake, simply add 8 ounces of your favorite chocolate. Start by melting the chocolate in a microwave-safe bowl then set aside to cool a bit. Add the cooled melted chocolate to the cream cheese mixture and continue making the cheesecake as directed below. (Don’t forget to make an Oreo crust for a chocolate lovers dream come true!)
This no-bake cheesecake is the perfect dessert for summer! It comes together quickly, uses only a few simple ingredients, and tastes AHmazing!
Here is a full video tutorial on how I make this amazing No-Bake Cheesecake!
No Bake Cheesecake
Servings: 8 people
Ingredients
Crust
- 1 1/4 c (105g) graham cracker crumbs
- 1/4 cup superfine sugar can also use granulated
- 6 tablespoons unsalted butter melted
Filling
- 16 ounces plain full-fat cream cheese (two 8-ounce packages; 455g)
- 3/4 cup (150g) granulated sugar
- 1 tablespoon (20g) fresh juice from 1 lemon
- 1 teaspoon vanilla extract
- 1/8 teaspoon kosher salt
- 1 1/2 cups (357g, 12 ounces) heavy whipping cream
Instructions
Crust
-
Combine graham cracker crumbs, sugar, and melted butter in a small bowl. Make sure to get every crumb coated with butter.
-
Pour into a 7-inch springform pan. Spread into an even layer, then compress firmly with a measuring cup making sure to press up the sides of the pan. Set aside.
Filling
-
Combine the cream cheese, sugar, lemon juice, vanilla, and salt in the bowl of a stand mixer fitted with a paddle attachment. Mix at medium speed until soft and smooth. Scrape the bowl as needed.
-
Switch to the whisk attachment and pour in the cream. Mix at low speed to combine, then increase to high and whip until the mixture can hold stiff peaks, 3 to 5 minutes.
-
Pour into the prepared crust.
-
Refrigerate until the filling is firm and cold, about 6 hours or overnight.
via i am baker https://iambaker.net
April 30, 2018 at 11:44PM


No comments:
Post a Comment